
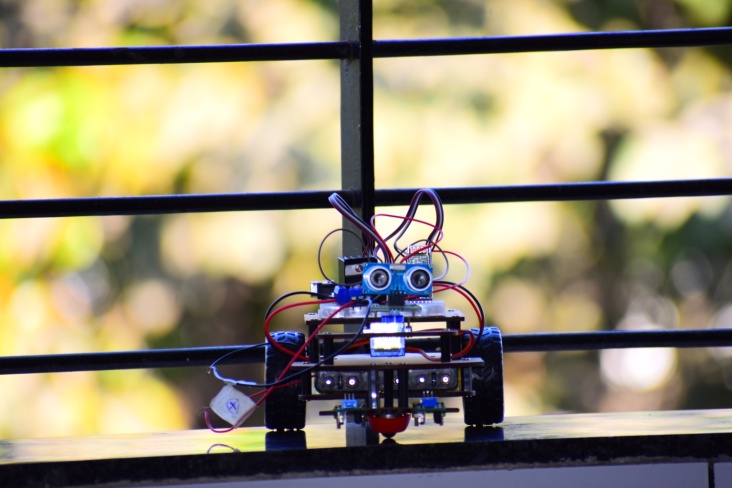
Bluetooth Car


Shree H.J. Gajera Secondary & Higher Secondary School, Utran
Making:
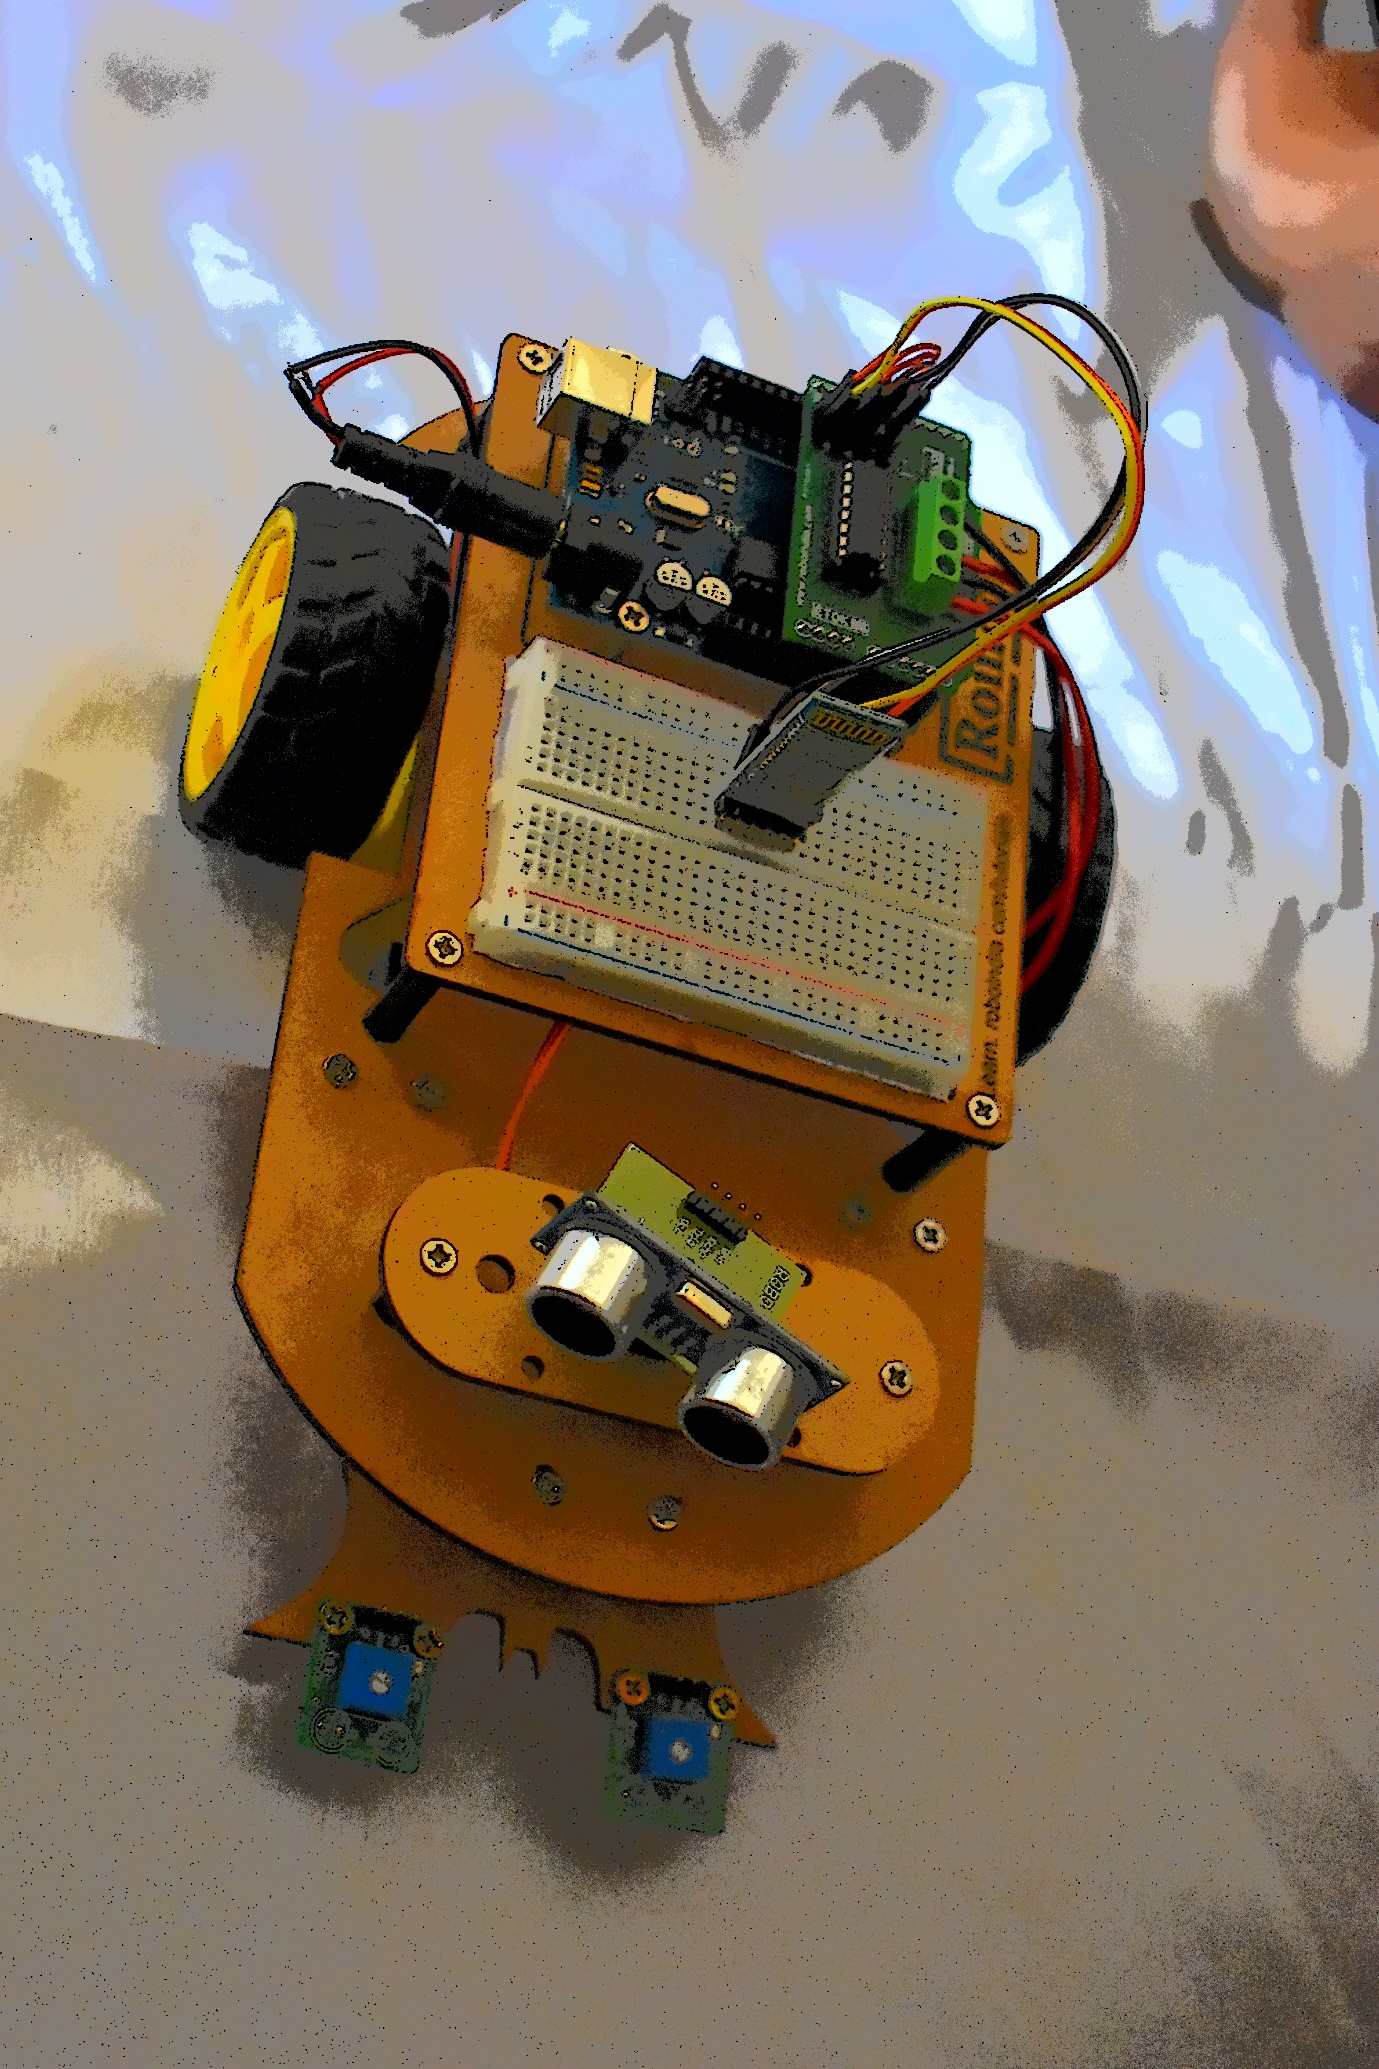
- Step 1 – Joined the Chassis of Car with the help of some Screws.
- Step 2 – Joined Arduino, breadboard to the Chassis.
- Step 3 – Connected Motor Driver (L298N) and Bluetooth Module (HC-05) to the Arduino with the help of Jumper Wires.
- Step 4 – Joined the Motors and Castor Wheels to the chassis and attach Wheels to the Motors.
- Step 5 – Attached the battery or 12v power supply to the car.
- Step 6 – Lastly applied the codes to the Arduino with its software through the Computers.
Components:
- Chassis for Car, Arduino UNO, Bluetooth Module (HC-05), Motor Driver (L298N).
- 2xGear Motor and 2xWheels, Castor Wheels, 12v power Supply.
- Jumper Wires (Male to Male, Male to Female, Female to Female),A to B cable for Arduino.
Working:
After giving 12v power to the Arduino, it starts working, with the help of application in the android device.
We are able to give commands by connecting the device to the Bluetooth Module.
Learning Outcome:
Learners will come to know more about robotics.
Learners will come to know about how the Arduino UNO, Bluetooth Module, Motor driver works.
They will come to know more about how remote control car works.
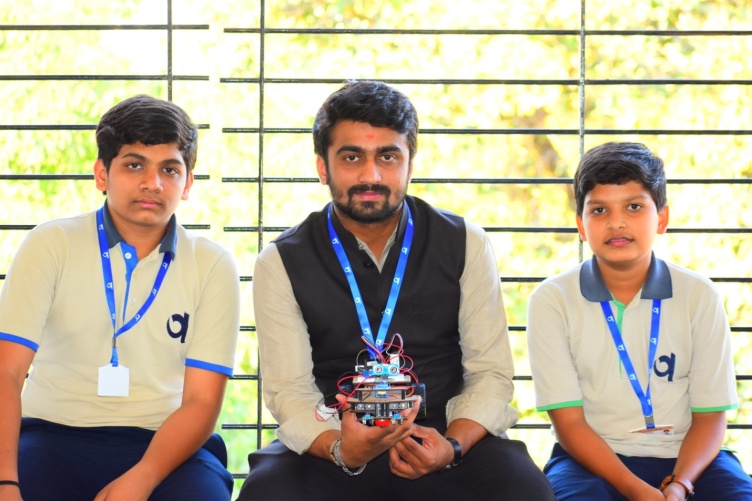
Team
- Dudhatra Harsh [Grade 9-A]
- Dobariya Yug [Grade 9-A]