
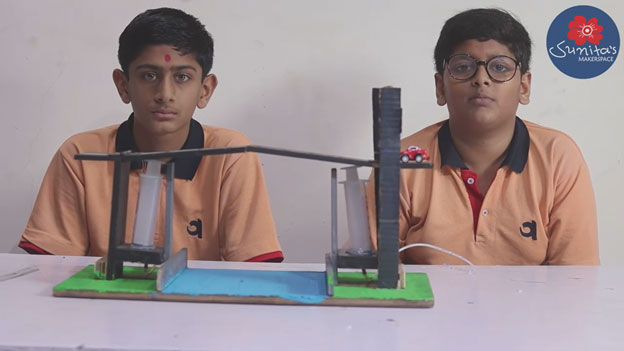
Hydraulic Bridge

Making:
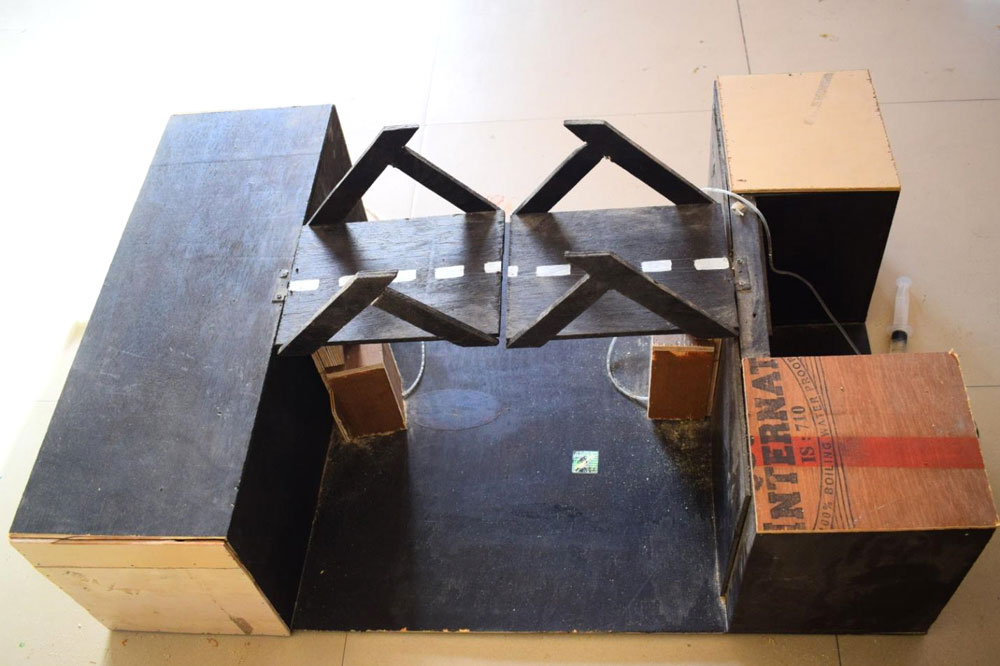
- Step 1-Make design of hydraulic bridge and marking on ply as per dimensions.
- Step 2 – Cut the ply as per measurement.
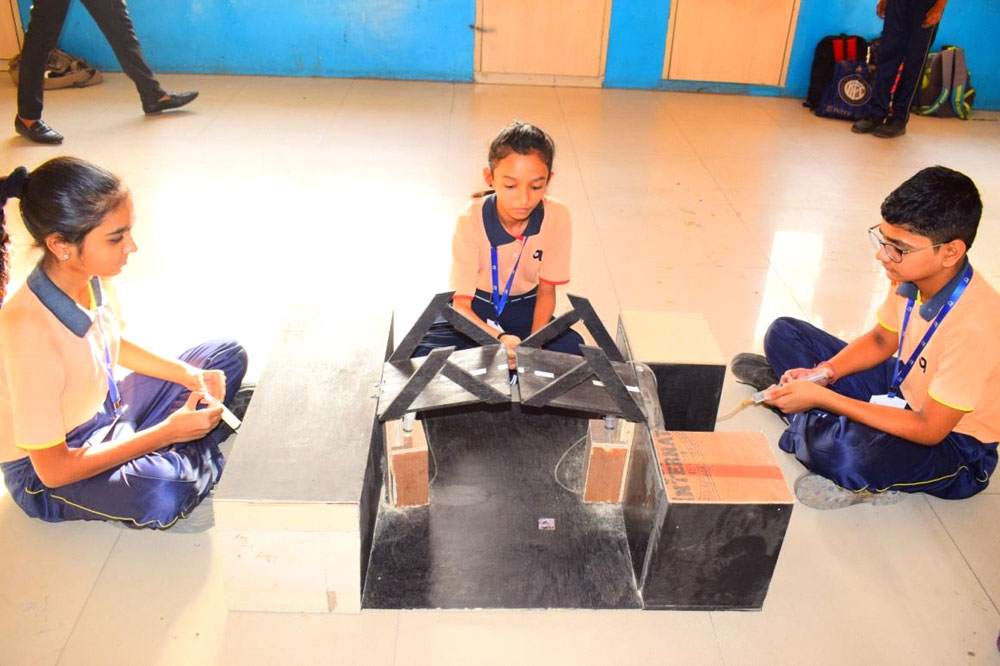
- Step 3-Use door hinges for smooth working of bridge.
- Step 4 - Attach syringe and nozzle for working of bridge as shown in image.
- Step 5 – Project is ready.
Components:
- Wasted Ply
- Syringe and nozzle-4
- Door Hinges-2
Working:
This bridge works on the principle of hydraulic. The red signal defines the arrival of ship. During that time, syringe will press towards the bridge with hydraulic pressure and it will move in upward direction at a sufficient height so that ship can pass easily under the bridge. When the ship is passed, the green signal will be shown and the bridge will again move towards its initial position so that the vehicles can pass through bridge.
Project Outcomes:
Students will get basic knowledge about carpentry and will learn about principles of Hydraulic and Pneumatic.
Makers
- Kunj Beladiya – Grade 7
- Meet Gajera – Grade 8
- Keyur Dankhara – Grade 8
- Sneh Vaghani – Grade 8
- Dharm Italiya – Grade 8